
 Boiling, Chilled, & Sparkling
 King Series Water Purifiers
 Water Filters
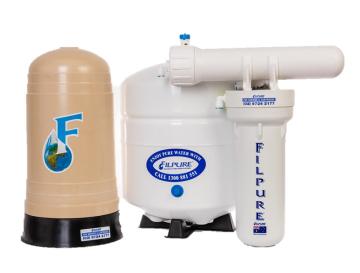
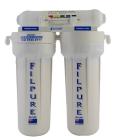
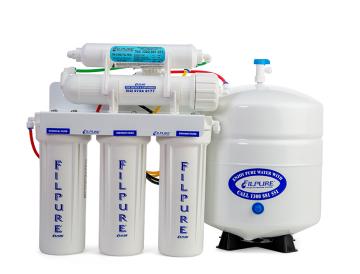 Reverse Osmosis Water Filters
 Alkaline Filters
 Whole House Water Filters
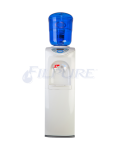 Water Dispensers & Bubblers
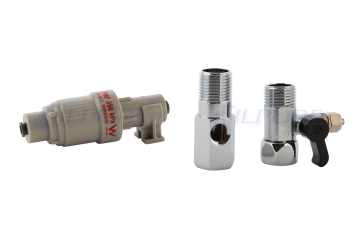 Filter Cartridges & Parts
 Faucets & Mixers

Installing a reverse osmosis (RO) water filter system is one of the most effective ways to ensure access to clean, safe, and great-tasting drinking water in your home. This comprehensive guide will walk you through the entire installation process, providing detailed steps, essential tips, and valuable insights to help you set up your RO system efficiently. Whether you’re a DIY enthusiast or a first-time installer, this guide will make the process simple and stress-free.
What is a Reverse Osmosis Water Filtration System?
Reverse osmosis is a advanced water purification process that removes contaminants by forcing water through a semipermeable membrane. This method effectively eliminates impurities such as chlorine, lead, fluoride, bacteria, and other harmful substances, ensuring high-quality drinking water. For more information on reverse osmosis water filters, visit our Reverse Osmosis Water Filters page.
Key Benefits of Reverse Osmosis Systems
- Superior Contaminant Removal: Removes up to 99% of contaminants, including heavy metals, chemicals, and microorganisms.
- Improved Taste and Odor: Eliminates unpleasant tastes and odors caused by chlorine and other chemicals.
- Cost-Effective and Eco-Friendly: Provides a sustainable alternative to bottled water, reducing plastic waste and saving money in the long run.
- Healthier Drinking Water: Delivers clean, mineral-balanced water that is safe for consumption.
Pre-Installation Planning and Preparation
Proper planning and preparation are essential for a successful reverse osmosis system installation. Follow these steps to ensure a smooth process.
1. Gather the Necessary Tools and Materials
Before starting, make sure you have all the required tools and materials:
- Reverse osmosis system kit (includes filters, membrane, and tubing)
- Adjustable wrench
- Drill with 1/4-inch and 1/2-inch bits
- Screwdriver
- Teflon tape (for leak-proof connections)
- Bucket (for catching water during installation)
- Measuring tape
2. Choose the Right Installation Location
Select a suitable location for your RO system, typically under the kitchen sink. Ensure there is enough space for the system components, including the filter assembly, storage tank, and tubing. The area should also be easily accessible for future maintenance and filter replacements. For under sink water filter options, explore our Under Sink Water Filters selection.
3. Inspect Your Plumbing System
Examine your existing plumbing to identify the cold water supply line and ensure compatibility with the RO system’s feed water adapter. Check for any leaks or issues that may need addressing before installation. If you’re unsure about your plumbing setup, consult a professional plumber.
Step-by-Step Installation Process
1. Install the Feed Water Valve
Locate the cold water supply valve under your sink and turn it off. Disconnect the cold water line from the valve and attach the feed water adapter provided in your RO system kit. Use Teflon tape on threaded connections to prevent leaks. Reconnect the cold water line to the adapter.
2. Mount the RO Faucet
Choose a suitable spot on your sink or countertop for the RO faucet. Ensure there is enough space underneath for the faucet hardware. Drill a 1/2-inch hole at the selected location. Assemble the faucet components as per the manufacturer’s instructions and secure it in place.
3. Install the Drain Saddle
Select a location on the sink drainpipe for the drain saddle, typically above the P-trap. Drill a 1/4-inch hole into the drainpipe at the chosen spot. Align the drain saddle over the hole and secure it using the provided clamps, ensuring a tight fit to prevent leaks.
4. Mount the Filter Assembly
Position the filter assembly bracket on the cabinet wall under the sink, allowing enough clearance for filter changes. Mark the mounting holes, drill pilot holes, and secure the bracket with screws. Hang the filter assembly onto the bracket.
5. Connect the Tubing
Using the color-coded tubing provided, make the following connections:
- Feed Water Line: Connect the tubing from the feed water adapter to the inlet port on the filter assembly.
- Drain Line: Attach the tubing from the drain port on the filter assembly to the drain saddle.
- Faucet Line: Connect the tubing from the filtered water outlet to the RO faucet.
- Storage Tank Line: Link the tubing from the storage tank to the designated port on the filter assembly.
Ensure all connections are secure and use Teflon tape where necessary to prevent leaks.
6. Install the Storage Tank
Place the storage tank in a convenient location under the sink. Connect the tank ball valve to the tank’s outlet and attach the tubing leading to the filter assembly. Ensure the valve is in the closed position.
7. System Start-Up and Testing
Once all connections are secure, proceed with the following steps:
- Open the cold water supply valve.
- Check for leaks at all connection points and tighten as needed.
- Open the RO faucet and allow the system to flush for approximately 2 hours to remove any air and impurities. During this time, the storage tank will fill, and the initial water should be discarded.
- After flushing, close the RO faucet and allow the tank to fill completely, which may take several hours.
Maintenance and Filter Replacement Tips
Regular maintenance is essential to ensure the optimal performance of your reverse osmosis system. Follow the manufacturer’s guidelines for filter replacement intervals, typically every 6 to 12 months, depending on water quality and usage. Periodically inspect all connections and components for signs of wear or leaks. For replacement filters and maintenance kits, visit our Reverse Osmosis Water Filters page.
Explore Additional Filtration Solutions
For comprehensive water filtration needs, consider exploring our range of whole house water filters. These systems provide filtered water throughout your entire home, addressing various contaminants and ensuring clean water for all household uses. Learn more about our offerings on the Whole House Water Filters page.
Conclusion
Installing a reverse osmosis water filter system is a practical and effective way to ensure access to purified drinking water in your home. By following this step-by-step guide, you can confidently set up your system and enjoy the benefits of clean, great-tasting water. For any questions or assistance, feel free to contact our team of experts at Filpure. We’re here to help you achieve the best water quality for your home.